
Schedule your first appointment
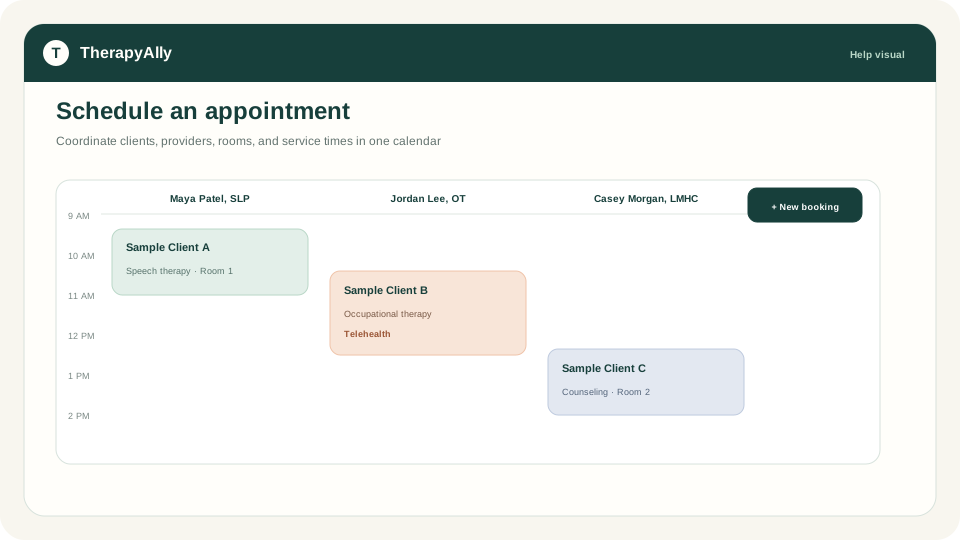
The Calendar on Home and Scheduling use the same scheduler. Create a booking to reserve time with a client, provider, and room.
Before you start
- [ ] At least one client exists
- [ ] At least one provider is on the team
- [ ] (Recommended) Stripe Connect is ready if you will collect payment at booking
Steps
1. Open the Calendar
Go to Home or Calendar from the drawer. The day view shows provider columns and available rooms.
2. Create a booking
Click an open time slot or use Create booking. Fill in:
- Client: select from your client list
- Provider: rendering provider for the session
- Service / treatment code: if your practice uses coded services
- Room or location: when your practice tracks rooms
- Date and time: start and end of the appointment
3. Set payment options (optional)
If Stripe Connect is ready, you can require or offer card payment for the booking. Private-pay and self-pay flows use your connected Stripe account.
4. Save and notify
Save the booking. TherapyAlly can send confirmation email to the client when notifications are configured for your practice.
5. Manage the appointment
Click an existing booking to reschedule, cancel, or open related clinical workflows (session notes, plan of care).
After your first appointment
- Write session and progress notes
- Document attendance when the session occurs
Troubleshooting
| Issue | What to do | | --- | --- | | No open slots | Check provider hours and room availability in settings | | Client not in list | Add the client first. See Add your first client. | | Payment option missing | Complete Connect Stripe for payments |