
Add your first client
Clients are the center of scheduling, clinical documentation, and billing in TherapyAlly. Create a client record before booking or documenting care.
Before you start
- [ ] Company setup is complete
- [ ] At least one provider is on the team (for assignment)
- [ ] (Optional) Client insurance card if you plan to bill insurance, including Member ID and payer name
Steps
1. Open Clients
From the app drawer, select Clients.
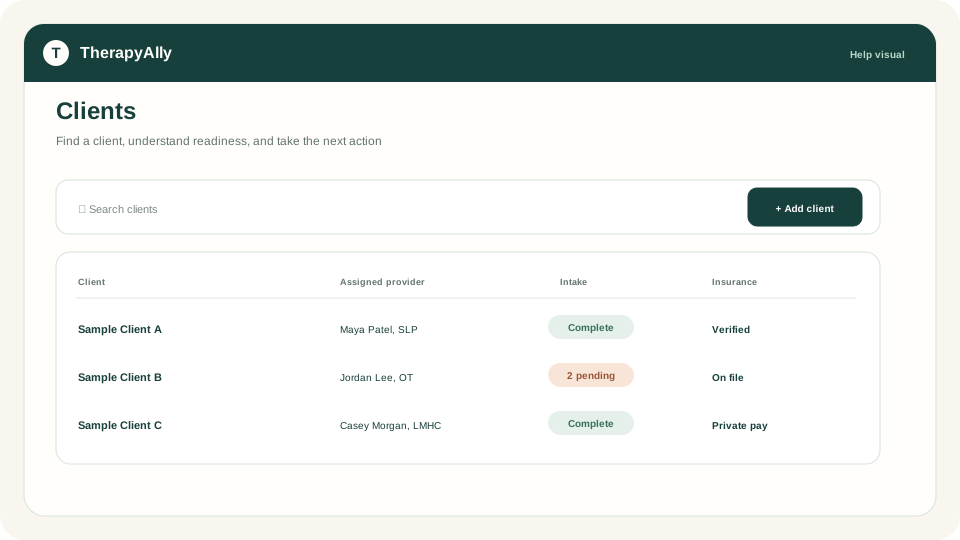
2. Start the client wizard
Click Add client (or the equivalent action on your screen). The wizard guides you through:
- Demographics: name, date of birth, contact preferences, and sex. Claims require Male or Female.
- Parents & guardians: caregivers for minors or authorized contacts
- Insurance: primary and secondary coverage, Member ID, group number, and payer from the Claim.MD directory (this stores Claim.MD payer ID). For dependents, add subscriber name, date of birth, and sex.
- Providers: assigned provider(s) for this client
3. Save the client
Review each step and save. You can edit the client later from the client tile or detail view.
4. Assign intake forms (recommended)
After saving, assign intake templates so the client can complete forms before their first visit. See Configure intake templates.
After your first client
- Schedule your first appointment
- Configure intake templates
- Set up insurance and billing if billing insurance
Troubleshooting
| Issue | What to do | | --- | --- | | Cannot see Clients | Your role may not include client access. Ask your practice admin. | | Insurance fields missing | Expand the Insurance step in the wizard | | Claim later says Claim.MD payer ID is missing | Re-select the payer from the Claim.MD search on the Insurance step | | Provider not listed | Add providers in Team or complete provider setup first |