
Connect Stripe for payments
Stripe Connect lets your practice accept card payments for appointments and one-off invoices. TherapyAlly connects your own Stripe account and charges clients directly on it, so you keep full access to your Stripe dashboard.
Before you start
- [ ] Company setup is complete
- [ ] You have authority to open a Stripe account for the clinic
- [ ] You have your bank account and tax information ready
Steps
1. Open Stripe Connect settings
Go to Settings → Stripe Connect (or /settings/stripe-connect).
2. Start onboarding
If you do not have a Stripe account yet, click Create a Stripe account (or Continue Stripe onboarding if you started before) and provide your business details, representative information, and bank account as Stripe requests.
If your practice already has its own Stripe account, click I already have a Stripe account, sign in to Stripe, and approve the connection. Your existing account, payouts and dashboard stay as they are.
3. Return and sync status
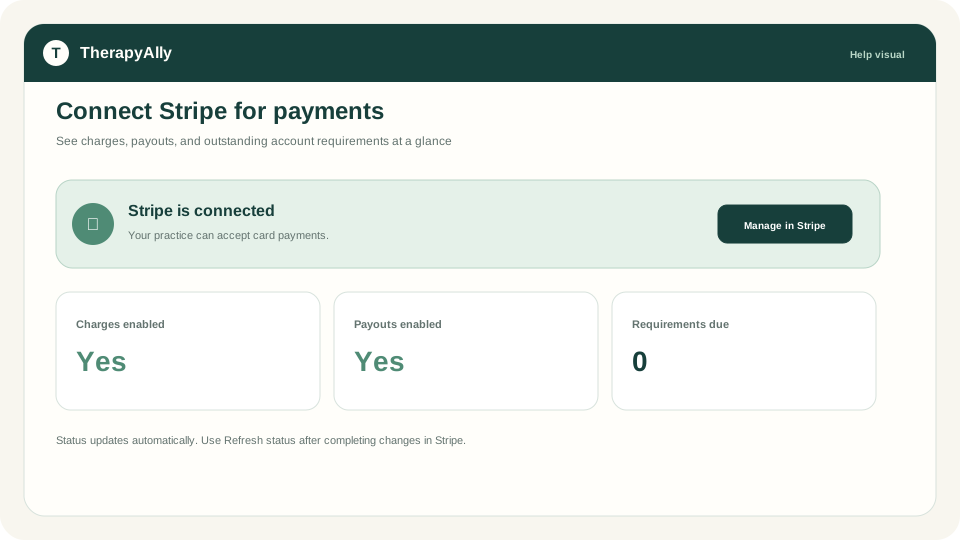
When Stripe finishes, return to TherapyAlly and click Refresh status (or wait for automatic sync). Your status card shows:
- Charges enabled: clients can pay for bookings and invoices
- Payouts enabled: funds transfer to your bank account
- Any requirements currently due: items Stripe still needs
4. Confirm branding (optional)
Your Stripe account controls what clients see on checkout pages and receipts. In your Stripe dashboard, open Settings → Branding to add your logo and colors.
5. Enable autopay for facility bills (optional)
If your practice receives TherapyAlly platform monthly invoices, you can authorize autopay on the same settings page.
When Stripe is ready
Your checklist shows Connect Stripe for payments as complete when Charges enabled is true. Next steps:
- Schedule your first appointment
- Collect private-pay invoice payments from clients
Troubleshooting
| Issue | What to do | | --- | --- | | Charges not enabled | Open the Stripe dashboard and complete outstanding requirements | | Status out of date | Click Refresh status on the Stripe Connect page | | Wrong bank account | Use the Stripe dashboard to update payout details |